Perfect Pulses—Crispy Baked Chickpeas
Chickpeas are like the chameleon of the pulse world. From a salad topping, to hummus, to brownies(!), the possibilities are endless. Pulses—the edible seeds of legumes, including peas, lentils, beans, and chickpeas—are a good source of protein and fiber. They are also high in zinc, magnesium, iron, and potassium, folate, and potassium. These tiny powerhouses are packed with good-for-you nutrients.

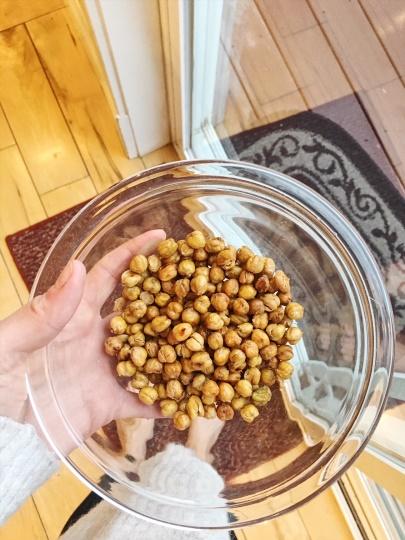
Salty, crunchy, and even addicting, these perfectly poppable pulses are a versatile addition to salads and soups, but tasty enough to stand alone as an afternoon pick-me-up with a good dose of protein to keep you full.
Speaking of protein, plant foods may have more protein than you realize. One half cup of chickpeas contains over twice the amount of protein as an egg. Even carrots contain 2 grams of protein per serving. Additionally, studies have shown that plant-based diets are incredibly heart healthy.
A couple of things to keep in mind with this recipe:
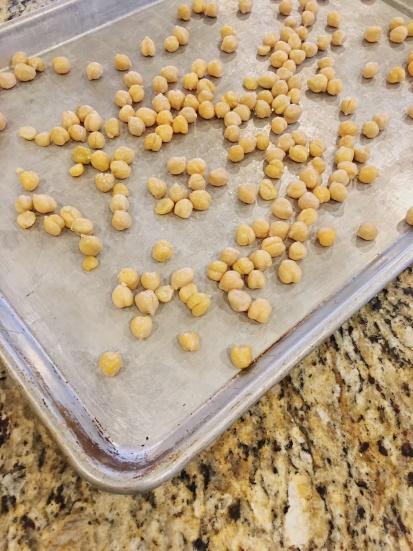
- You’ll definitely want to rinse and thoroughly DRY your chickpeas prior to baking. Spread the chickpeas in a single layer on a sheet pan and stick them in the refrigerator to dry them out even more.
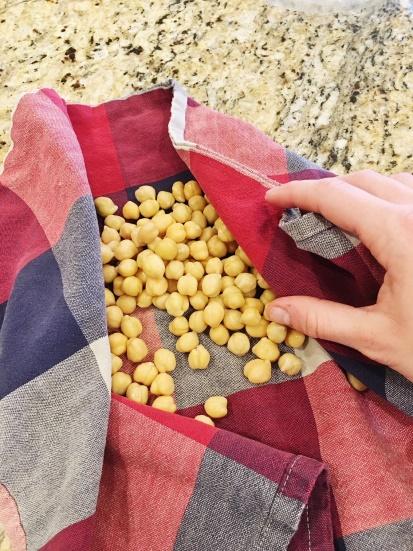
- Peeling the skins ups the crisp factor. I know this sounds tedious—so, either turn on your favorite Netflix show (xoxo Gossip Girl) and peel them individually, or use this tip: vigorously rub the chickpeas with a dry cloth or paper towel, and the skins should naturally start peeling off. Unless, of course, you need an excuse to watch your favorite Netflix show; then the former method is acceptable.
As far as storage, it’s best to store the chickpeas uncovered; otherwise, they’ll lose their crunch. They should stay fresh for up to 4-5 days uncovered…if they last that long.
Crispy Baked Chickpeas
Crunchy, versatile, flavorful, and healthy, these snackable chickpeas are a simple and easy way to incorporate pulses into your life.
Ingredients
- 1 15-ounce can chickpeas, very well drained + thoroughly dried
- 1 Tbsp avocado or other neutral oil (if avoiding oil, omit and don't rinse chickpeas out of the can - just drain)
- 1/2 tsp salt
- 1 tsp seasoning of choice (curry powder, paprika, etc.)
Instructions:
- Preheat oven to 350 degrees F and set out a bare baking sheet.
- Drain chickpeas well. If using oil, rinse well with water and thoroughly drain. If omitting oil, simply drain well and skip rinsing with water.
- Once drained well, spread the chickpeas out on a clean, absorbent towel and use your hands to gently roll and dry the chickpeas. Some of the skins should start coming off. You can opt to peel all of the chickpeas - which can help for extra crispiness! - or simply remove the skins that come off. Either way, the chickpeas will crisp up.
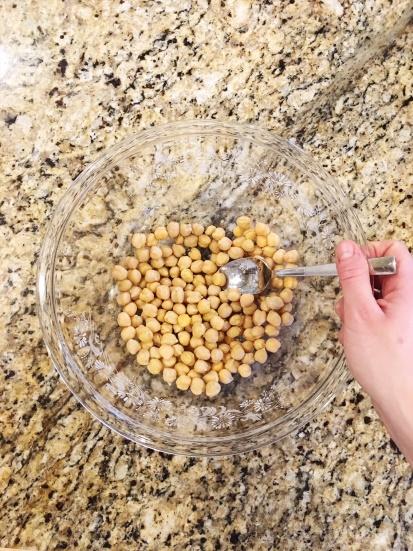
- Transfer the chickpeas to a mixing bowl and top with oil (or omit) and salt. Mix well to combine. DO NOT add the other seasoning at this point - it can interrupt the crisping process, so wait until after baking.
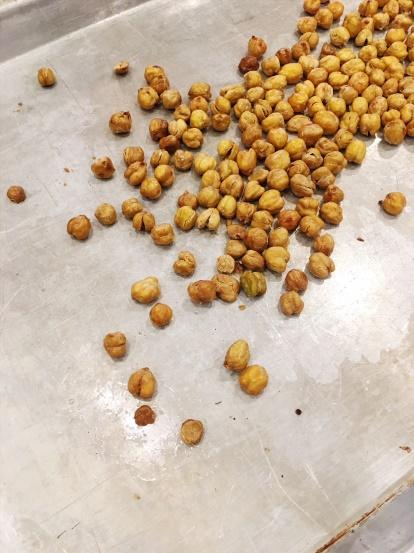
- Bake for a total of 45-50 minutes or until golden brown and dry/crispy to the touch. I like turning my pan around and shaking the chickpeas at the halfway point for even cooking.
- Remove from oven and toss with seasonings (if desired) while still warm. Then let cool 5-10 minutes - they will continue crisping as they cool.
- Serve as is or atop bowls or salads! To store, place in a Tupperware container or jar and DO NOT tightly cover. Instead, crack lid so they can "breathe" a bit. These are best on the first day, but they will last for 4-5 days at room temperature. Alternatively, seal well and freeze up to 1 month.
*Recipe adapted from Minimalist Baker
No comments:
Post a Comment